
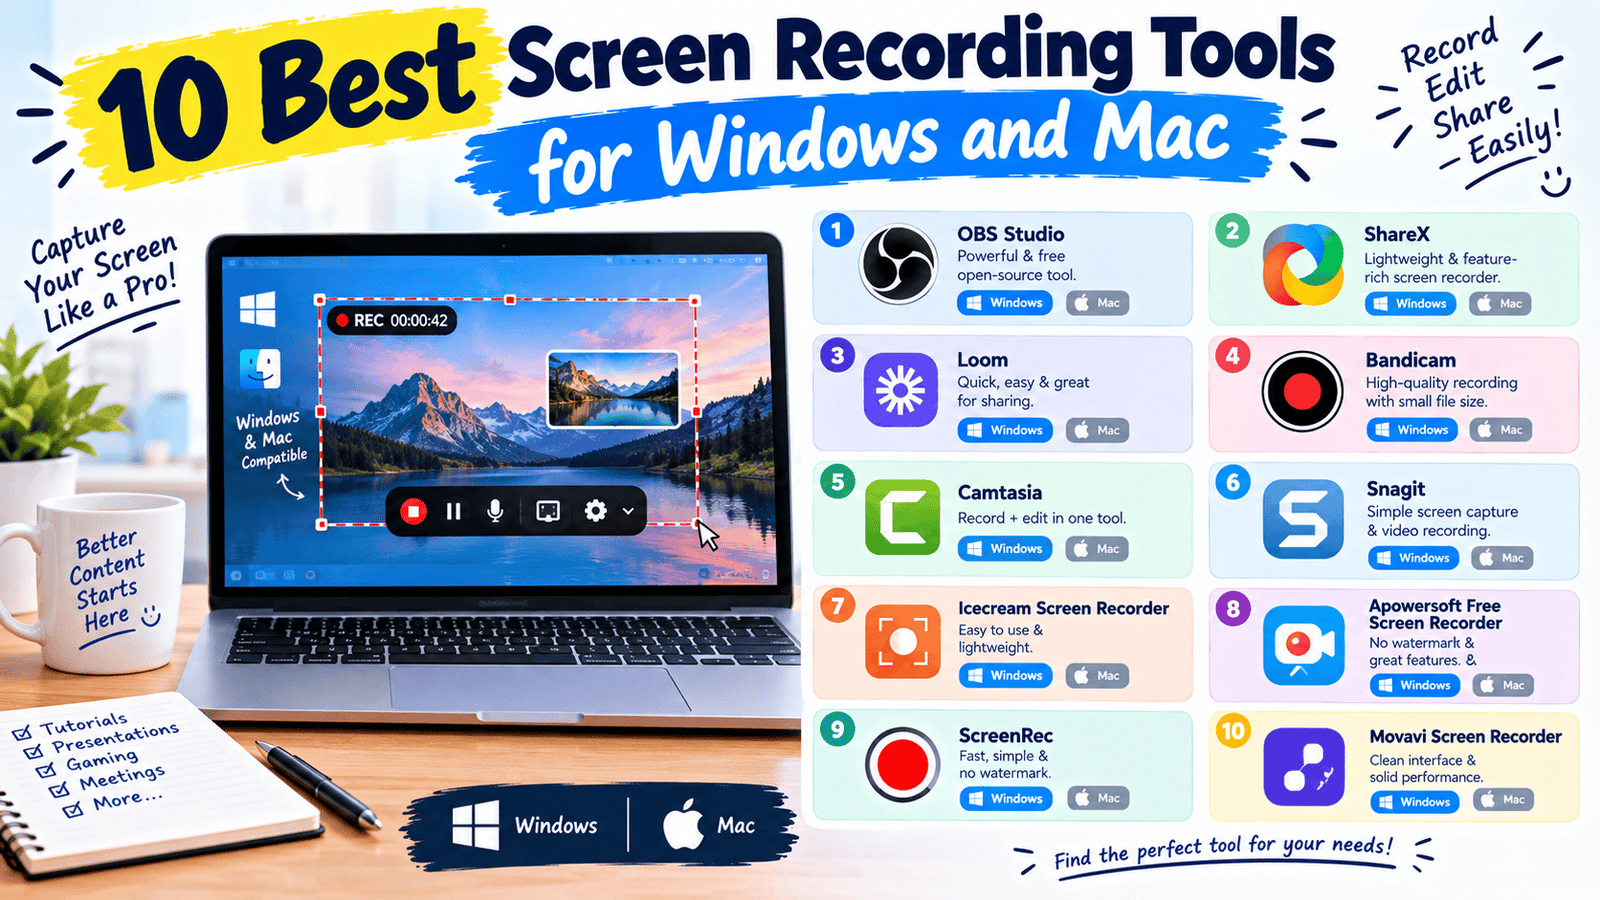
Whether you’re recording a quick tutorial, capturing a bug for a support ticket, or making a walkthrough video for a client, screen recording has become one of those everyday tasks that shouldn’t require complicated software. The good news is that most people don’t need professional streaming software just to capture their screen clearly.
I record my screen fairly often for tutorials and client feedback, and the difference between a smooth recording tool and a clunky one really shows up when you’re trying to explain something quickly without fighting the software itself. Here’s a look at the best screen recording tools for both Windows and Mac, what each one is actually good at, and how to pick the right one for your specific use case.
What is a Screen Recording Tool?
A screen recording tool captures your screen activity — everything from a browser tab to your entire desktop — as a video file, often with the option to include audio narration and webcam overlay. Some tools are built for quick, casual recordings, while others offer more advanced editing built right in.
For example, instead of typing out a lengthy explanation for a software bug, you can record a 30-second screen capture showing exactly what’s happening, which communicates the issue far more clearly.
Why Screen Recording Tools Matter in 2026
Current Trend or Statistic
Remote work and asynchronous communication have made screen recordings a standard part of how teams share information — a quick video often replaces a lengthy written explanation or a scheduled meeting. Tools have responded by getting faster to launch and easier to share, with many now offering instant shareable links instead of requiring a manual upload step.
Who Benefits and How
- Remote teams share quick updates or feedback without scheduling a live call.
- Content creators record tutorials, reviews, or walkthroughs for their audience.
- Customer support teams demonstrate fixes or capture bugs clearly for developers.
- Educators record lessons or explain concepts visually for students.
Best Screen Recording Tools (Reviewed)
1. OBS Studio
Features: Free, open-source recording and live streaming with extensive customization. Pros: Incredibly powerful and completely free, used by professionals and streamers alike. Cons: Steeper learning curve than simpler recording tools. Price: Free. Best for: Users wanting professional-grade control without paying anything.
2. Loom
Features: Quick screen and webcam recording with instant shareable links. Pros: Extremely fast to launch and share — ideal for quick async communication. Cons: Free plan limits the number of videos you can store. Price: Free tier available. Best for: Quick, casual recordings for team communication.
3. ShareX (Windows only)
Features: Screen recording, screenshot tools, and file sharing all in one free app. Pros: Completely free with a surprising amount of built-in functionality. Cons: Windows only, and the interface feels less polished than paid alternatives. Price: Free. Best for: Windows users wanting a versatile, all-in-one free tool.
4. QuickTime Player (Mac only)
Features: Built-in screen recording for Mac with no additional install required. Pros: Already installed on every Mac, completely free and reliable. Cons: Very basic — no editing tools included. Price: Free (Mac only). Best for: Mac users needing a quick, no-frills recording without installing anything.
5. Camtasia
Features: Screen recording combined with a full video editing suite. Pros: One of the best tools for polished, edited tutorial videos. Cons: No meaningful free tier — it’s a paid tool with a trial. Price: Paid, with a free trial. Best for: Creating polished, professionally edited tutorial content.
6. Screencast-O-Matic
Features: Screen recording with basic editing tools built in. Pros: Good balance between simplicity and editing capability. Cons: Free version adds a small watermark. Price: Free tier available. Best for: Simple tutorials that need light editing afterward.
7. Windows Game Bar (Windows only)
Features: Built-in screen recording tool included with Windows. Pros: No install required, works well for quick captures. Cons: Limited to recording specific app windows, not the full desktop in some cases. Price: Free (Windows only). Best for: Quick, no-install recordings on Windows.
8. Snagit
Features: Screen recording and screenshot annotation with editing tools. Pros: Excellent annotation tools for marking up screenshots and short clips. Cons: No free tier — paid software with a trial period. Price: Paid, with a free trial. Best for: Users who need detailed annotation alongside recording.
9. Icecream Screen Recorder
Features: Simple screen and webcam recording with scheduled recording options. Pros: Scheduling feature is useful for recording something at a set time. Cons: Free version limits recording length. Price: Free tier available. Best for: Users who need to schedule a recording in advance.
10. Zoom (Screen Recording Feature)
Features: Records screen shares during meetings, also usable standalone. Pros: Convenient if you’re already using Zoom for calls. Cons: Not designed as a dedicated recording tool outside of meetings. Price: Free tier available. Best for: Recording directly during video calls or meetings.
How to Choose the Right Tool
Factor 1: Do you need editing built in?
If you just need a quick, unedited capture, Loom or QuickTime is enough. If you’re producing polished tutorials, Camtasia or Screencast-O-Matic include editing tools worth the extra setup.
Factor 2: Windows vs. Mac compatibility
Some tools like ShareX and Windows Game Bar are Windows-only, while QuickTime is Mac-only — check compatibility before committing to a workflow.
Step-by-Step: How to Record Your Screen
Step 1: Choose the right recording area
Decide whether you need the full screen, a specific window, or just a browser tab.
Step 2: Check your audio settings
Confirm your microphone is selected correctly before recording — this is the most common mistake people make.
Step 3: Record, then trim if needed
Most tools let you trim the start and end of a recording even if they don’t offer full editing.
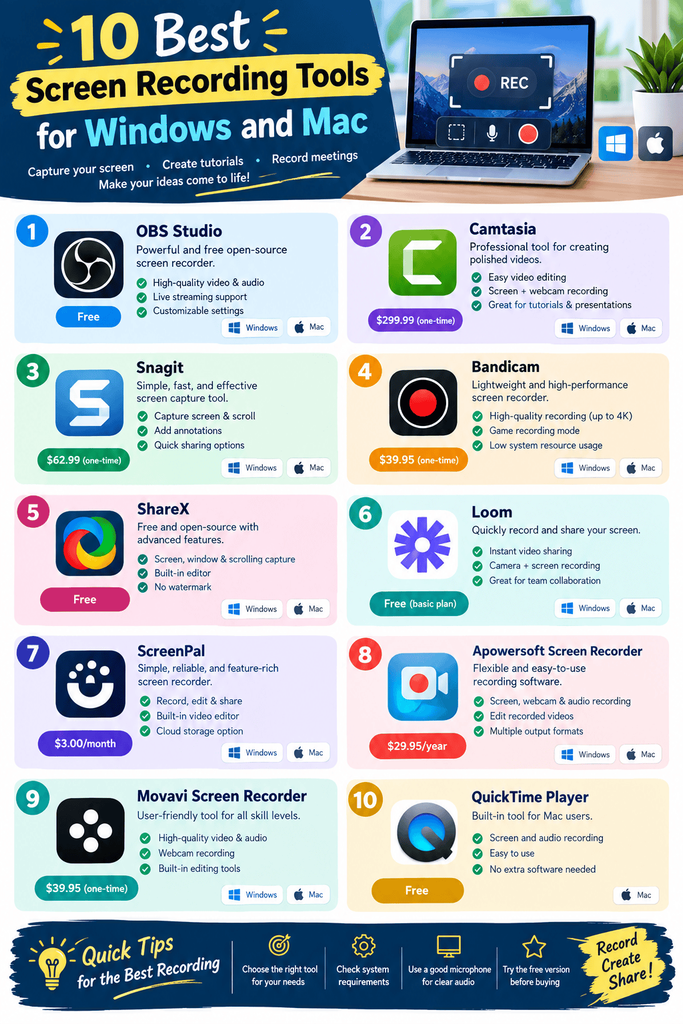
Comparison Table
| Tool | Price | Best Feature | Rating |
|---|---|---|---|
| OBS Studio | Free | Professional-grade customization | 4.7/5 |
| Loom | Free / Paid | Instant shareable links | 4.6/5 |
| ShareX | Free (Windows) | All-in-one free toolkit | 4.5/5 |
| QuickTime Player | Free (Mac) | Built-in, no install needed | 4.3/5 |
| Camtasia | Paid | Recording + full editing suite | 4.6/5 |
| Screencast-O-Matic | Free / Paid | Light editing built in | 4.3/5 |
Common Mistakes to Avoid
- Forgetting to check audio input before recording. Nothing’s more frustrating than finishing a recording with no narration captured.
- Recording at too low a resolution. Always confirm your output resolution matches your intended use, especially for tutorials meant to be zoomed in on.
- Skipping a trim pass. Even a quick trim of dead air at the start and end makes a recording feel far more polished.
Pros and Cons Summary
Pros: Most tools are free or have a usable free tier, setup is quick, and sharing has become nearly instant with tools like Loom. Cons: Free versions often add watermarks or limit recording length, and the most polished editing tools require a paid subscription.
Conclusion
Screen recording doesn’t need to be complicated or expensive. Whether you need a quick, casual capture or a fully edited tutorial, there’s a free or affordable tool on this list that fits. Match the tool to your platform and how much editing you actually need, and you’ll be recording within minutes.